

Scan at 300 DPI, run OCR, detect the form fields, then save the file as an editable PDF. That is the cleanest path from “sad paper pile” to “click, type, done.”
TLDR: OCR turns scanned text into real, searchable text. Form recognition finds blanks, checkboxes, dates, and signature lines, then turns them into fillable fields. For example, a 12-page intake packet that takes 20 minutes to retype can often become an editable PDF in 5 minutes. If your team handles 200 forms a month, even saving 10 minutes per form can free up over 33 hours.
What you are actually making
A scanned PDF is often just a photo in a PDF wrapper. You can see the words, but your computer cannot “read” them. That is why you cannot search the file. Or fix a typo. Or click inside a blank field.
OCR means Optical Character Recognition. It reads the picture of the words and converts it into selectable text.
Form recognition is the second magic trick. It looks for lines, boxes, labels, and empty spaces. Then it creates fields people can type into.
Together, they turn a flat scan into a PDF that behaves like a real digital document. Less copying. Less squinting. Less “who designed this form in 1998?” energy.
What you need before you start
- A scanner or phone scanning app with clear capture.
- OCR software, such as Adobe Acrobat, ABBYY FineReader, PDF-XChange Editor, or another PDF editor with OCR.
- Form field detection, sometimes called “prepare form” or “recognize form fields.”
- A clean original, if you can get one.
- A few minutes for review, because robots still make weird choices.
The review step matters. OCR may read “O” as zero. It may turn “rn” into “m.” It may create a giant text box where you wanted a tiny date field. Honestly, it feels like the software gets sleepy near page seven.
Step 1: Scan the document the right way
Start with a clean scan. This saves pain later.
- Use 300 DPI for most text documents.
- Use black and white for simple forms.
- Use grayscale if there are stamps, light text, or faint lines.
- Keep pages straight.
- Remove shadows, coffee rings, and rogue staples.
If you scan with a phone, place the page on a dark, flat surface. Use good light. Hold the phone flat above the page. Most scanner apps can crop and straighten the image for you.
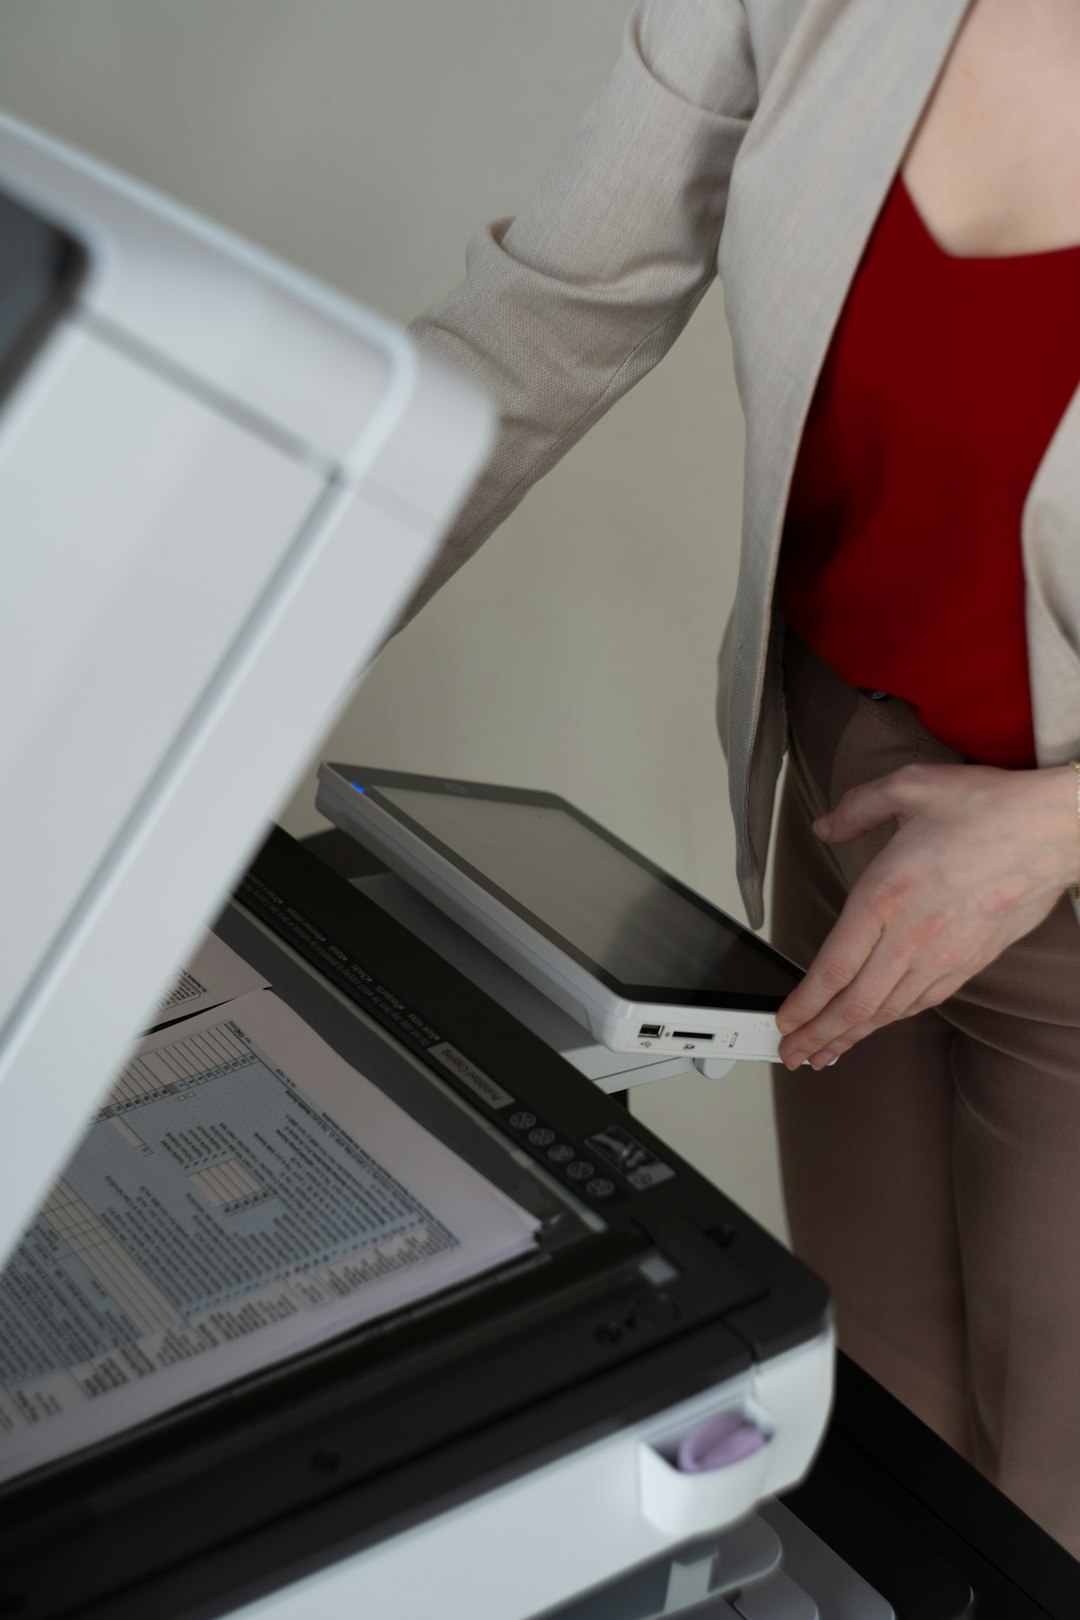
Try not to take a photo at an angle. OCR hates that. It will still try. But it may give you a document that reads like a pirate wrote it during an earthquake.
Step 2: Save the scan as a PDF
Save the file as a PDF before running OCR. Name it clearly.
Use simple names like:
- client intake form scanned.pdf
- vendor application original.pdf
- tax form batch april.pdf
Do not call it scan final final real final 2.pdf. You will regret that name by lunch.
Step 3: Run OCR
Open the scanned PDF in your OCR tool. Pick the option that says something like Recognize Text, OCR, or Make Searchable.
Choose the correct language. This sounds tiny. It is not. If the document is in English, set English. If it has French, Spanish, or German, add those languages if your tool allows it.
Then run OCR.
After it finishes, test the result:
- Try to select a word.
- Search for a common word, like “name” or “date.”
- Copy one sentence into a text editor.
- Check if the copied text looks normal.
If the text copies as nonsense, your scan may be too blurry. You may need to rescan at a higher quality.
Step 4: Fix OCR mistakes
Most OCR tools let you review suspicious words. Use that feature if the document is important.
Focus on:
- Names
- Dates
- Dollar amounts
- Account numbers
- Email addresses
- Legal terms
These are the spots where tiny errors become big headaches. A wrong comma in body text is annoying. A wrong digit in a tax ID is a mess.
Step 5: Run form recognition
Now turn the OCR PDF into a fillable form.
Find the feature called Prepare Form, Create Form, or Detect Form Fields. The tool will scan the page and guess where fields belong.
It usually finds:
- Text fields
- Checkboxes
- Radio buttons
- Date fields
- Signature fields
- Drop-down menus, sometimes
The guesses will not be perfect. Expect to waste time on small fixes. Some tools put a text box over every blank line. Others miss half the checkboxes. One extra click per field does not sound bad, until your form has 85 fields and your coffee is cold.
Step 6: Clean up the fields
Click each field and check it. This is where your PDF becomes nice to use.
Give fields clear names. For example:
- first name
- last name
- email address
- start date
- signature
Set field types correctly. A checkbox should not be a text field. A phone number should not need three separate boxes unless you truly need that format.
Add settings where useful:
- Required fields for must-have answers.
- Character limits for IDs or codes.
- Date format for clean entries.
- Tooltips to explain tricky fields.
- Tab order so users can move through the form smoothly.
Tab order is easy to forget. Do not skip it. If pressing Tab jumps from “First Name” to “Signature” to “City,” people will mutter things at your PDF.
Step 7: Make the PDF editable, but safe
There are two kinds of “editable” here.
- Editable text: You can correct the document text itself.
- Fillable fields: Users can type into blank areas.
Decide what you need. If this is a standard company form, you may want the form fields editable, but the main text locked. That keeps people from changing legal wording by accident.
If many people will use the PDF, protect it. Set permissions. Allow filling and signing. Block changes to the base text if needed.
Step 8: Test it like a normal person
Open the form outside your editing tool. Use a common PDF reader. Fill it out from start to finish.
Check these items:
- Can you type in every field?
- Do checkboxes work?
- Does the tab key move in the right order?
- Can you save the filled version?
- Does it print correctly?
- Does the file size stay reasonable?

Send it to one coworker before sending it to 500 clients. One tester can catch odd field jumps, broken saving, or a signature box that sits three inches too low.
Quick tips for better editable PDFs
- Use clean originals when possible.
- Avoid scanning wrinkled paper.
- Split huge batches into smaller files.
- Use consistent field names.
- Remove blank pages.
- Compress images after OCR if the file is too large.
- Keep a copy of the original scan.
For office forms, build a master version. Update that master instead of rescanning the same paper every month. Your future self will be grateful.
Common problems and quick fixes
The text is searchable, but not editable.
Your tool may have added a hidden OCR text layer. Use an “edit PDF text” feature if you need to change the visible words.
The fields are in the wrong places.
Delete the bad fields. Add new ones by hand. It is often faster than fighting the auto tool.
The file is huge.
Reduce image quality after OCR. Try PDF compression. Keep the text readable.
The OCR result is messy.
Rescan at 300 DPI or 400 DPI. Straighten the page. Improve contrast.
People cannot save their answers.
Check PDF reader support. Some old readers are awful with forms. Test in another reader.
The simple workflow to remember
- Scan cleanly.
- Run OCR.
- Check the text.
- Recognize form fields.
- Fix the fields.
- Test the PDF.
- Save a master copy.
That is it. A scanned document does not have to stay trapped as a flat image. With OCR and form recognition, it can become searchable, fillable, and far less annoying. Paper had a good run. Your editable PDF is better.