
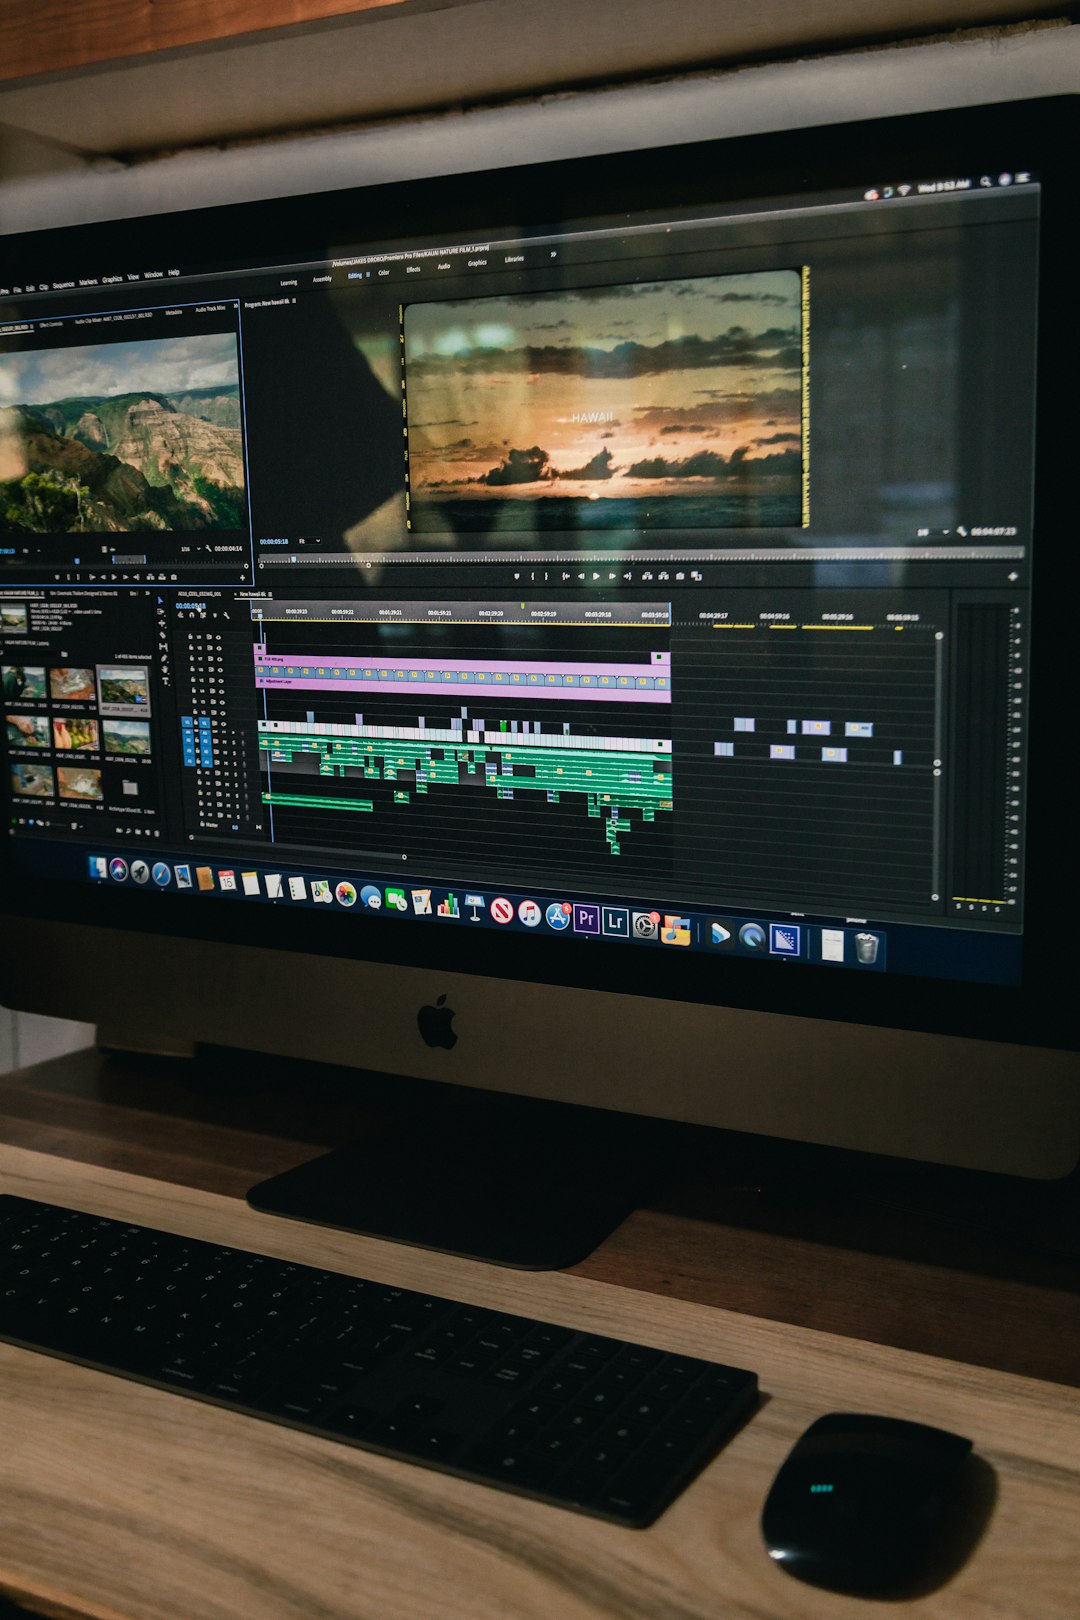
Start by choosing the character’s emotion, then cut every shot to protect that emotion. If the character feels scared, bold, goofy, or calm, every edit should help the viewer feel that too.
TLDR: Pick one main mood for the character. Gather the cleanest clips, match color and lighting, then cut on action, facial changes, and beats in the audio. For example, a 30-second hero edit might use 8 clips, with each shot lasting 2 to 4 seconds. In a small test, edits with consistent color and tighter pacing can feel more polished to viewers, even when the footage is the same.
1. Know the Character Before You Touch the Timeline
Do not start by trimming random clips. That is how edits turn into soup.
First, answer three simple questions:
- Who is this character? Hero, villain, clown, loner, legend?
- What do they want? Revenge, love, escape, respect?
- What should the viewer feel? Hype, sadness, fear, warmth?
This gives your edit a spine. A funny character needs timing. A tragic character needs silence. A fighter needs impact. A mysterious character needs space.
Character edits are not just pretty clip collections. They are tiny stories with rhythm, mood, and attitude.
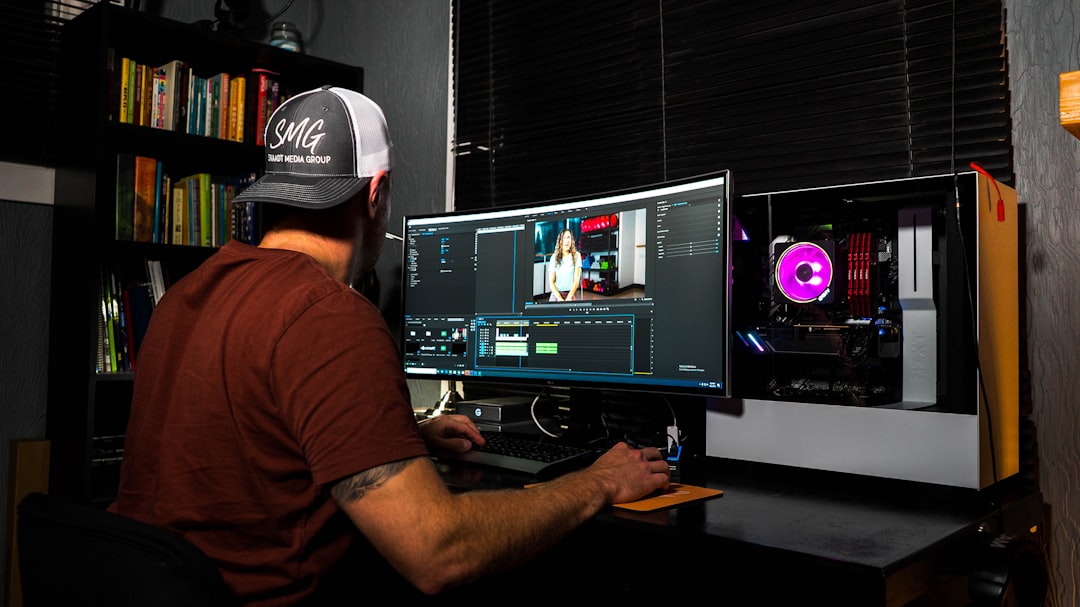
2. Pick Footage Like You Are Casting the Character Again
Good footage saves you hours. Bad footage fights you the whole way.
Look for clips with clear faces, readable body language, and strong moments. A tiny glance can be better than a giant explosion. A slow head turn can say, “I know your secret.” That is gold.
Sort your footage into simple groups:
- Intro shots: The character enters or is revealed.
- Emotion shots: Smiles, anger, fear, tears, shock.
- Action shots: Running, fighting, dancing, turning, pointing.
- Reaction shots: The character listens, waits, or processes.
- Ending shots: A final look, pose, walk away, or fade.
Expect to waste time on clips that almost work. The face is perfect, but the camera shakes. The movement is cool, but the lighting is awful. It drives me crazy when one great shot takes 20 seconds longer to fix than five normal shots. Still, be picky. Your final edit will thank you.
3. Build a Tiny Story
Even a short character edit needs a beginning, middle, and end.
Try this structure:
- Hook: Show a strong face, pose, line, or action.
- Build: Add more personality and movement.
- Peak: Use the biggest emotion or most exciting shot.
- Release: End with a clean final image.
For a villain, the hook could be a slow smile. The build could show power. The peak could be a fight or threat. The release could be the villain walking away while everyone else panics.
Simple. Clear. Fun.
4. Cut on Motion, Not Just Time
One common mistake is cutting every two seconds because the timer says so. Please do not let the timer boss you around.
Cut when something changes.
- A hand rises.
- A head turns.
- A punch lands.
- A smile appears.
- The music hits.
- A line ends.
This makes edits feel smooth. The viewer’s eye follows the action. The cut feels natural, not random.
If a character turns left in one shot, try to make the next shot continue that flow. If they look off screen, cut to what they might be seeing. This creates clean visual logic.
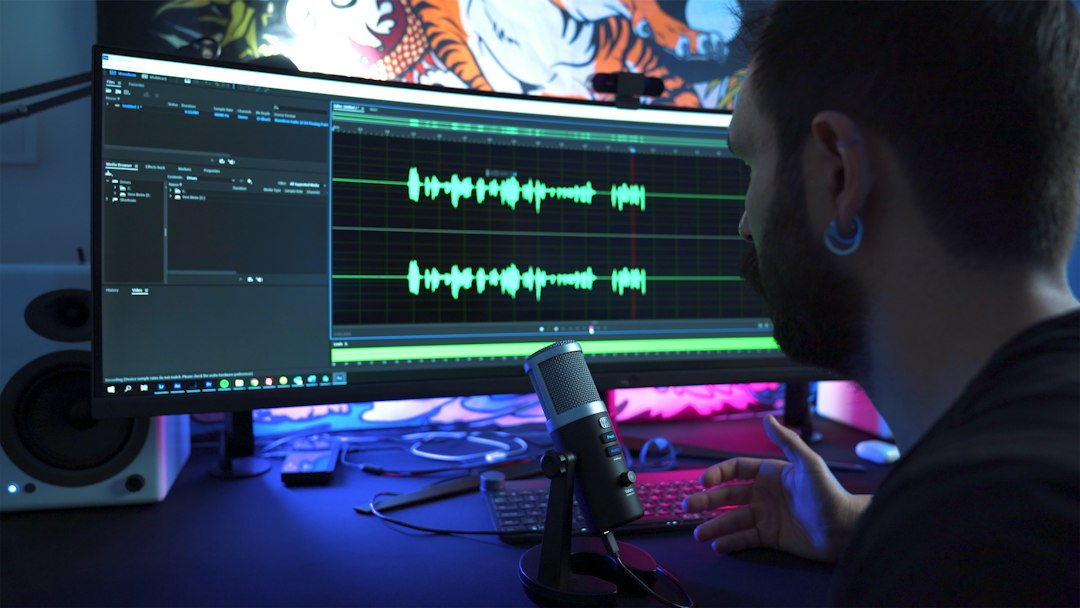
5. Use Audio Like Secret Glue
Audio can rescue a plain edit. It can also ruin a great one.
Pick music or sound that fits the character. A soft piano track may suit a quiet memory edit. Heavy drums can fit a warrior. A strange synth can fit a creepy genius.
Then place your cuts on strong audio points:
- Beat drops for big reveals.
- Drum hits for punches or turns.
- Quiet gaps for close-ups.
- Lyrics that match the character’s story.
Do not overload the sound. Too many whooshes, booms, and risers can feel like a blender full of fireworks. Use sound effects to support the scene, not to scream over it.
6. Match Color and Light
Visual consistency makes an edit feel professional. It tells the viewer, “Yes, these shots belong together.”
Start with basic fixes:
- Exposure: Make sure the shot is not too dark or too bright.
- White balance: Fix weird orange, blue, or green skin tones.
- Contrast: Add shape, but do not crush every shadow.
- Saturation: Keep colors rich, not radioactive.
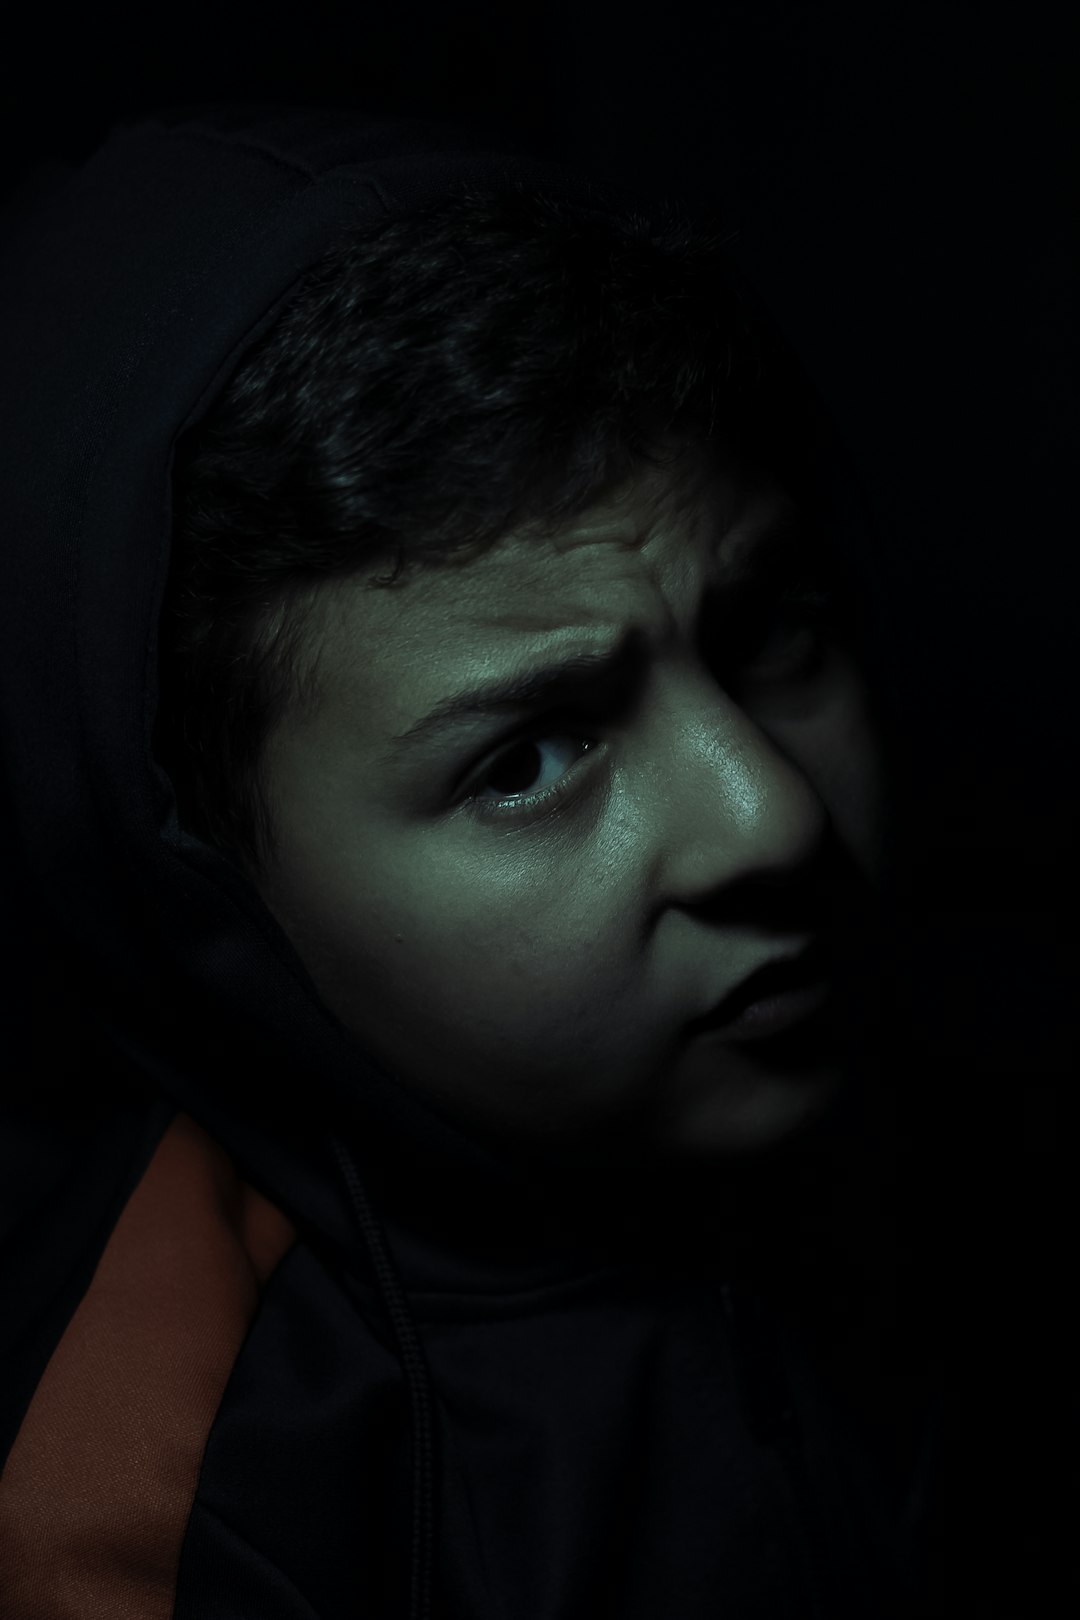
Then add a style. A hero edit might use warm gold tones. A sad edit might use cooler blues. A horror edit might use deep shadows and pale skin.
Do not make every shot fight for attention. If one clip is neon pink and the next is gray fog, the viewer notices the mismatch. Not the character.
7. Keep Faces Clear
Character edits live and die by faces.
If the viewer cannot read the eyes, mouth, or posture, the emotion gets lost. Use close-ups when the feeling matters. Use wide shots when movement matters.
A good pattern is:
- Wide shot: Shows the place or action.
- Medium shot: Shows body language.
- Close-up: Shows emotion.
This gives the scene shape. It also stops the edit from feeling flat.
8. Add Effects Only When They Help
Effects are candy. Nice in small bites. Awful as dinner.
Use transitions, shakes, flashes, blur, and speed ramps with purpose. A quick shake can make a hit feel stronger. A flash can mark a memory. Slow motion can stretch a key emotion.
But if every cut spins, shakes, zooms, and glows, the character disappears. The edit becomes a software demo. Nobody asked for that.
Honestly, it feels like some apps hide the useful controls behind three extra menus just to test your patience. Keep your process simple. Basic cuts, clean color, and smart sound beat messy effects almost every time.
9. Control Pacing Scene by Scene
Pacing is the heartbeat of the edit.
Fast pacing creates energy. Slow pacing creates weight. Mix both.
For example:
- 0 to 5 seconds: Grab attention with a bold shot.
- 5 to 15 seconds: Build the character’s mood.
- 15 to 25 seconds: Increase action or emotion.
- 25 to 30 seconds: Land the final image.
This works well for social edits. For longer scenes, stretch the same idea. Just give the viewer a reason to keep watching.
10. Check Continuity Before Export
Continuity means the edit feels connected. It does not need to be perfect. It needs to feel right.
Check these things before export:
- Does the character’s emotion change in a clear way?
- Do colors match from shot to shot?
- Are any clips too dark, blurry, or noisy?
- Do cuts match the music or sound?
- Is the ending strong?
- Can a new viewer understand the mood?
Watch the edit with no sound. Then listen with your eyes closed. Weird trick, yes. Useful, also yes.
If the silent version still tells a story, your visuals work. If the audio-only version has rhythm, your sound works.
11. Export Clean, Then Watch It Somewhere Else
Export in a quality that fits the platform. Use 1080p as a safe base. Use 4K if your footage supports it and the platform likes it.
After export, watch it on your phone. Then watch it on a bigger screen if you can. Tiny mistakes love to hide in the editing window.
Look for rough cuts, loud sounds, strange color jumps, and text that is too small. Fix them. Export again. Yes, it is annoying. Yes, it is worth it.
Final Tip: Make the Viewer Feel One Thing Clearly
The best character edits are not always the flashiest. They are the clearest.
Pick one feeling. Build around it. Use strong clips. Cut with motion. Match the color. Let the face speak. Add effects with care.
When the viewer leaves thinking, “I get this character,” you did the job.