
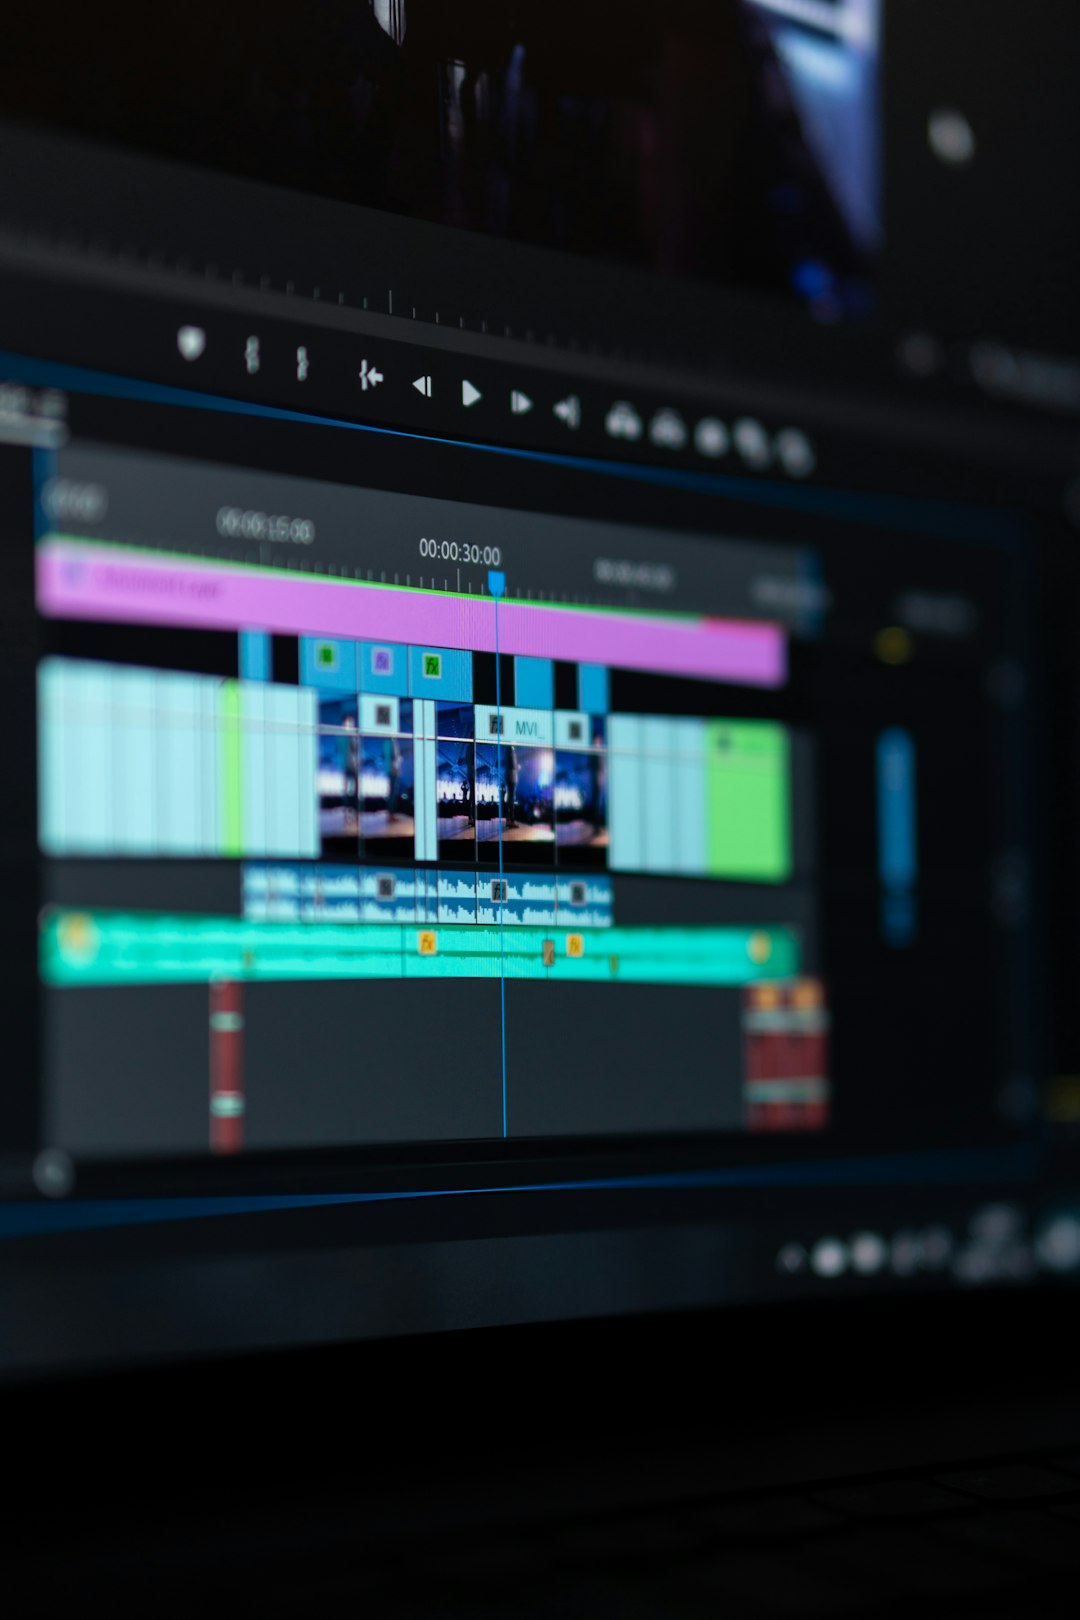
Good video editing starts with ruthless cutting: remove anything that does not serve the viewer, then polish sound, pacing, color, and titles until the video feels clean instead of “edited.” Beginners should focus on structure first, intermediate creators should refine rhythm and consistency, and anyone chasing more professional-looking results should treat audio as seriously as visuals.
TLDR: Start by cutting the weak parts, then fix audio, pace, color, and text. A beginner creator editing a 6-minute tutorial might remove 90 seconds of pauses, tighten the intro to 8 seconds, and keep viewers watching longer. Even simple upgrades, like balanced volume and cleaner transitions, can make a video feel 30% more polished to a casual viewer. Use effects last, not first.
1. Cut Before You Decorate
The easiest beginner mistake is adding music, effects, transitions, and captions before the edit actually works. That is like painting a wall before patching the holes. Watch your raw footage once, then cut anything that repeats, drags, confuses, or adds nothing.
Ask one question every few seconds: Would I keep watching this if I did not know the creator? If the answer is no, trim it.
- Remove dead air at the start and end of clips.
- Cut repeated points, even if both takes sound good.
- Shorten long introductions. Viewers rarely need a full backstory.
- Move the best moment earlier if the opening feels slow.
It drives me crazy when editing apps make trimming feel like surgery with oven mitts. If your software has ripple delete, learn it fast. It closes gaps automatically and saves a silly amount of time, especially on talking-head videos.
2. Build a Clear Story, Even for Short Videos
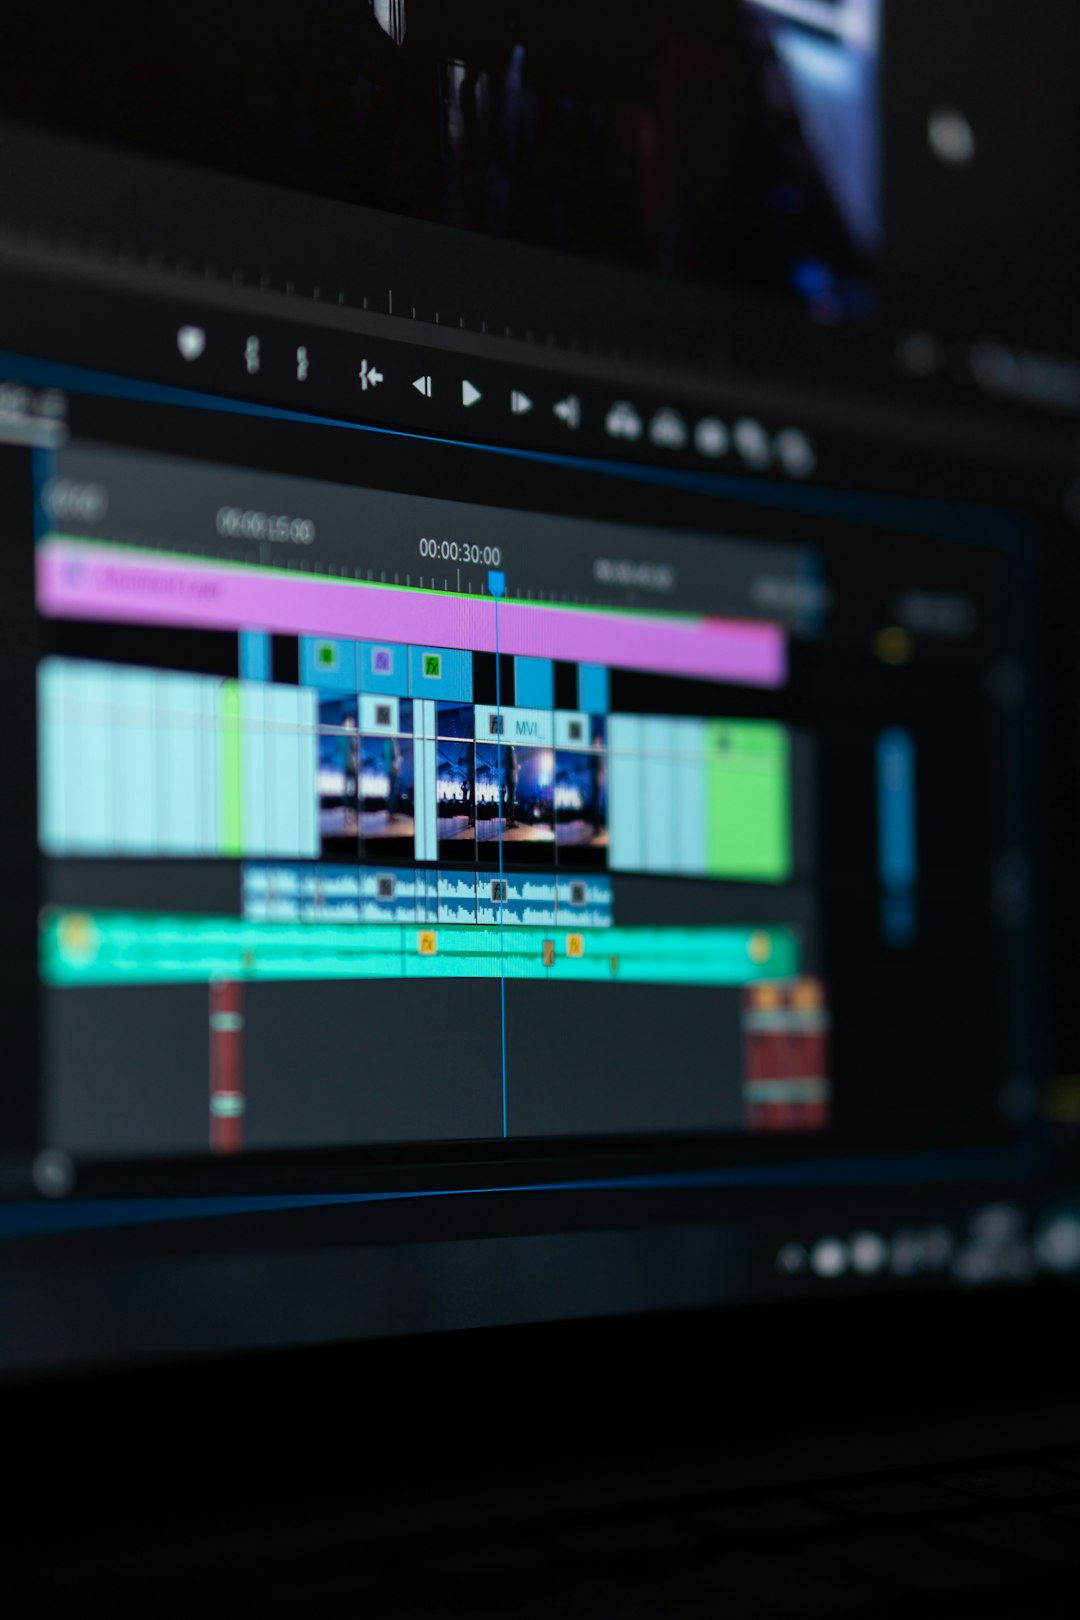
Every video needs shape. That applies to a 20-second Reel, a 10-minute product review, or a training video. A clean structure helps the viewer relax because they know where the video is going.
Use this simple order:
- Hook: Give the viewer a reason to care.
- Context: Explain what they are about to see.
- Main value: Teach, show, compare, react, or solve.
- Payoff: Show the result, answer, reveal, or key point.
- Next step: Ask for a comment, click, follow, or action.
For example, a cooking video should not begin with 40 seconds of chopping onions unless the chopping is the point. Open with the finished dish, a texture shot, or a quick promise: “This is a 15-minute pasta that tastes like you tried harder.”
3. Fix Audio Before Color
Bad visuals can look casual. Bad audio feels broken. Viewers will forgive slightly soft footage faster than harsh noise, uneven volume, or dialogue that sounds like it was recorded inside a cupboard.
Start with these audio basics:
- Keep dialogue clear and louder than music.
- Use noise reduction lightly. Too much can make voices sound robotic.
- Add room tone under cuts if the background jumps.
- Fade music in and out instead of making it stop suddenly.
- Check with headphones and phone speakers.
A practical target: keep spoken audio around -12 to -6 dB on many editing meters, with peaks not slamming into red. You do not need to become a sound engineer. You do need to avoid making viewers reach for the volume button every 15 seconds.
4. Use Music With Restraint
Music creates pace, but it can also bully the edit. Beginners often choose a huge cinematic track for a simple vlog or place upbeat music under serious information. The mismatch feels odd, even if the viewer cannot name why.
Pick music that supports the emotion of the video. Lower it during speech. If your video has sections, use music changes to mark them. For short social videos, edit to the beat when it helps, but do not force every cut to land on a drum hit. That can feel stiff fast.
5. Make Transitions Almost Invisible
Most professional edits use fewer flashy transitions than beginners expect. Hard cuts, J-cuts, L-cuts, fades, and simple push transitions carry most of the work.
- Hard cut: Best for clean, direct edits.
- J-cut: Audio from the next clip starts before the visual changes.
- L-cut: Audio continues after the visual changes.
- Fade: Good for time passing or emotional pauses.
- Match cut: Cuts between similar shapes, motion, or actions.
Use “wow” transitions only when the style calls for it. Travel videos, gaming edits, music promos, and sports clips can handle more motion. A legal explainer probably cannot.
6. Keep Text Short and Readable
Text can save a video. It can also clutter it. Use titles, labels, and captions to guide attention, not to repeat every word on screen unless accessibility or platform behavior demands it.
Good text follows three rules:
- Large enough to read on a phone.
- High contrast against the background.
- On screen long enough to understand without pausing.
Use one or two fonts. Keep placement consistent. If every caption bounces, flashes, spins, and changes color, the viewer starts watching the captions instead of the story. Honestly, it feels like some template packs were designed to make a 12-second clip take 40 minutes longer to fix.
7. Color Correct Before You Color Grade
Color correction means fixing problems. Color grading means adding style. Do them in that order.
First, match exposure, contrast, and white balance between clips. Skin should look natural unless the scene has a clear creative reason not to. Then add a style, such as warm shadows, cooler highlights, richer contrast, or a softer film look.
Beginner checklist:
- Fix clips that are too bright or too dark.
- Match camera angles from the same scene.
- Avoid crushing shadows until detail disappears.
- Do not oversaturate skin tones.
- Use LUTs gently, often at reduced strength.
8. Improve Pacing With B-Roll
B-roll is extra footage that supports the main clip. It hides cuts, adds context, and keeps the viewer engaged. If someone is talking about a product, show the product. If they mention a mistake, show the mistake. If they explain a location, show the location.
Strong B-roll is specific. A random city shot does not help a video about laptop battery life. A close-up of the battery test, charging cable, screen brightness, or timer does.
Use B-roll to:
- Cover jump cuts in interviews.
- Show proof of what is being said.
- Break up long talking-head sections.
- Add visual rhythm without using gimmicks.
9. Organize Your Project Like Future You Exists
Messy editing projects cost time. Name files, sort folders, and create a structure before the timeline gets crowded. Future you will be tired, annoyed, and looking for “that one clip where the light looked good.” Help that person.
Try folders like:
- Footage
- Audio
- Music
- Graphics
- Exports
- Project files
Use version numbers for edits. For example: training video v1, training video v2 client notes, and training video final. Avoid naming anything final final real final. We have all done it. It never ends well.
10. Export for the Platform
A great edit can look bad after a poor export. Match your settings to the platform and purpose. A YouTube tutorial, Instagram Reel, client presentation, and cinema screen all need different settings.
Check these before exporting:
- Aspect ratio: 16:9 for YouTube, 9:16 for vertical platforms, 1:1 for some feeds.
- Resolution: 1080p is fine for most online use; 4K helps if the source supports it.
- Frame rate: Match your footage unless you have a reason to change it.
- Bitrate: Too low creates blocky motion and soft detail.
- Captions: Burned-in or separate file, depending on the platform.
Always watch the export before posting. Not the timeline. The actual exported file. Look for black frames, missing audio, spelling errors, and weird cropping. These tiny mistakes are painful because they are so easy to miss.
Final Editing Mindset
Better editing is not about using every tool. It is about making clear choices. Cut the boring parts. Make the message easy to follow. Keep audio clean. Use style only when it supports the video.
If you are new, master trimming, audio levels, and simple titles. If you are intermediate, work on pacing, B-roll, color matching, and cleaner story structure. If you want a more professional result, review every second with one question in mind: Does this help the viewer keep watching?