
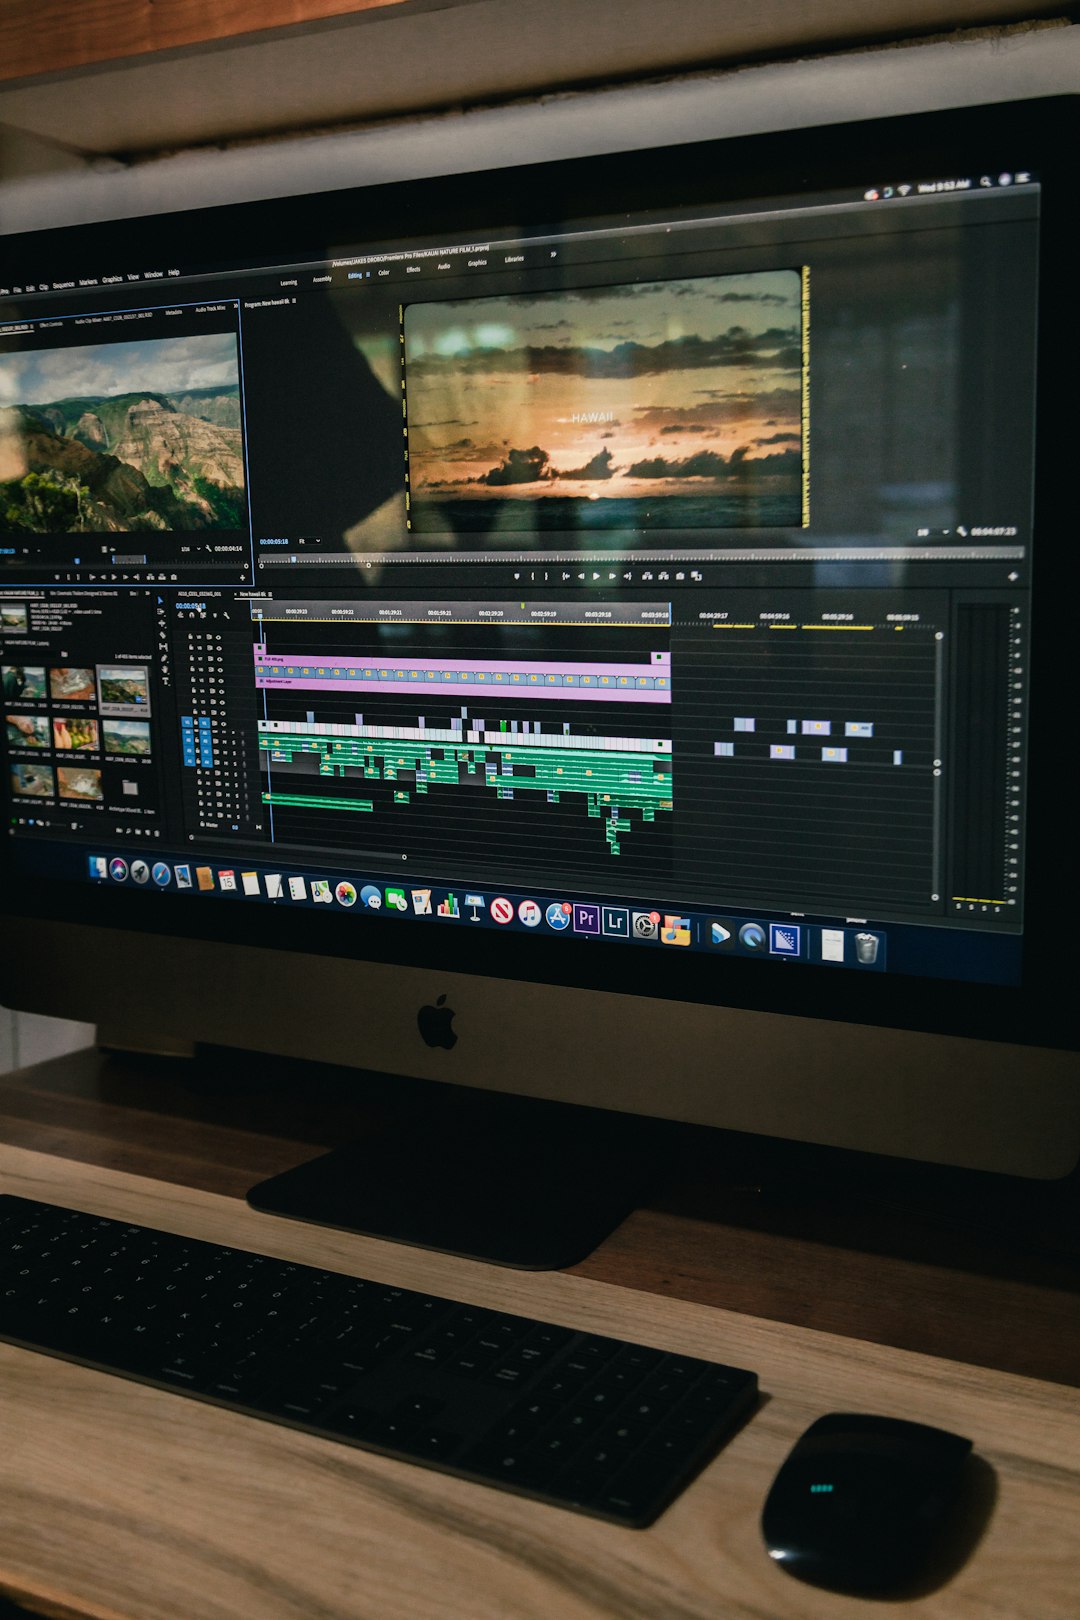
Build your application edit around a clean workflow first. Fancy filters can wait. If your files are messy, your timeline is chaos, and your exports are random, the final result will feel like soup with glitter in it.
TLDR: Application editing is easier when you follow a repeatable path: organize, edit, adjust, review, export. A small creator editing 12 clips for a product demo can cut review time by about 35% with clear file names and preset exports. For example, saving a “social video export” preset can turn a 6 minute export setup into a 30 second task. Less clicking. Fewer tears.
What Is An Application Edit?
An application edit is the full editing process inside a creative app. It may be a video editor, photo editor, audio editor, screen recorder, or design tool. The goal is simple. Turn raw material into something clear, polished, and ready to share.
This could mean editing a YouTube video. It could mean cleaning up app screenshots. It could mean trimming a product demo. It could also mean fixing colors, adding captions, mixing audio, and exporting files for web, mobile, or ads.
The trick is not magic. It is order.
Step 1: Set Up Before You Touch The Edit
Start with the boring part. Yes, boring. Also very useful.
Create a simple folder system before opening your editing app. Use names that a sleepy raccoon could understand.
- 01 Raw Files
- 02 Audio
- 03 Graphics
- 04 Project Files
- 05 Exports
Then rename your files. Do not use “final final 2 real one.mp4.” That name is cursed.
Use clear names like:
- demo intro take 01.mp4
- voiceover product steps.wav
- logo white transparent.png
This saves time later. It also saves your mood.
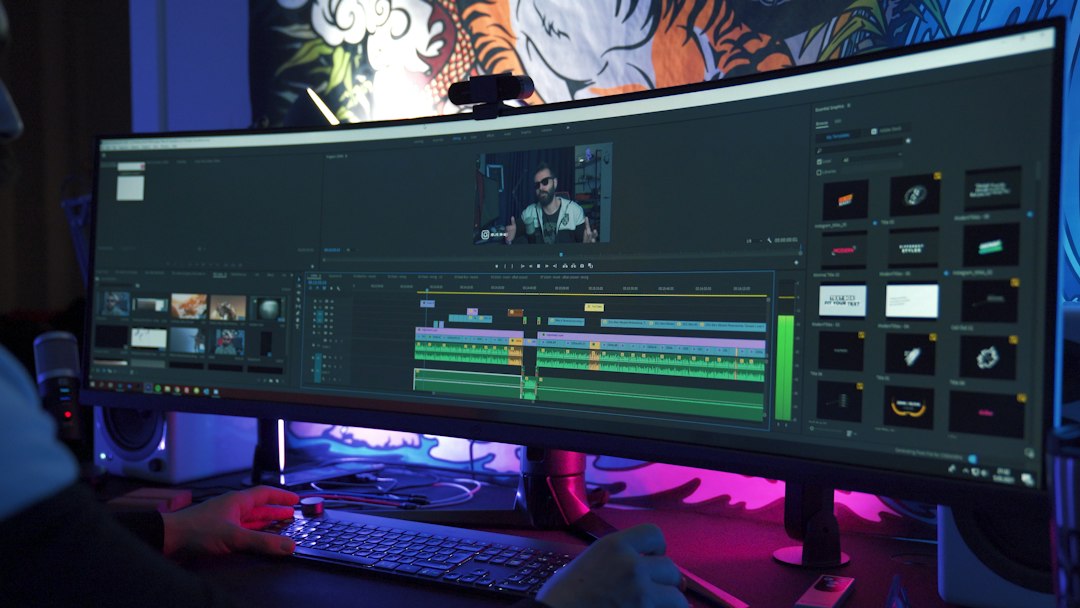
Step 2: Build A Rough Cut First
The rough cut is the skeleton. Do not polish yet. Do not color grade yet. Do not spend 18 minutes choosing a font while your main story is still broken.
Put the best clips in order. Remove dead space. Cut mistakes. Trim long pauses. Keep only what serves the point.
Ask one simple question after every clip:
Does this help the viewer understand faster?
If not, cut it. Be brave. Your edit is not a storage unit.
For app demos, keep actions tight. If a button takes three seconds to load, trim the wait. If a menu opens slowly, speed that section up. Honestly, it feels like some tools were designed to make every click take two seconds longer than needed. Your edit can hide that pain.
Step 3: Clean The Sound
Bad audio makes good visuals feel cheap. It is harsh, but true.
Start with volume. Voices should be easy to hear. Music should support, not fight. Sound effects should add clarity, not jump scare the viewer.
Use these simple audio moves:
- Normalize voice levels so speech stays steady.
- Lower background music during talking parts.
- Remove hums and clicks when possible.
- Add short fades at clip edges.
A tiny fade can fix ugly pops. A lower music track can make a tutorial feel professional. Small moves matter.
Step 4: Make Creative Adjustments
Now comes the fun part. This is where the edit gets personality.
Creative adjustments include color, crop, motion, speed changes, captions, overlays, icons, and transitions. Use them with taste. Too much sparkle can make a clean edit feel like a birthday card from 2007.
Use color to guide the eye. Raise brightness if the shot feels dull. Add contrast if the image looks flat. Warm up skin tones when needed. Cool down screens that look too yellow.
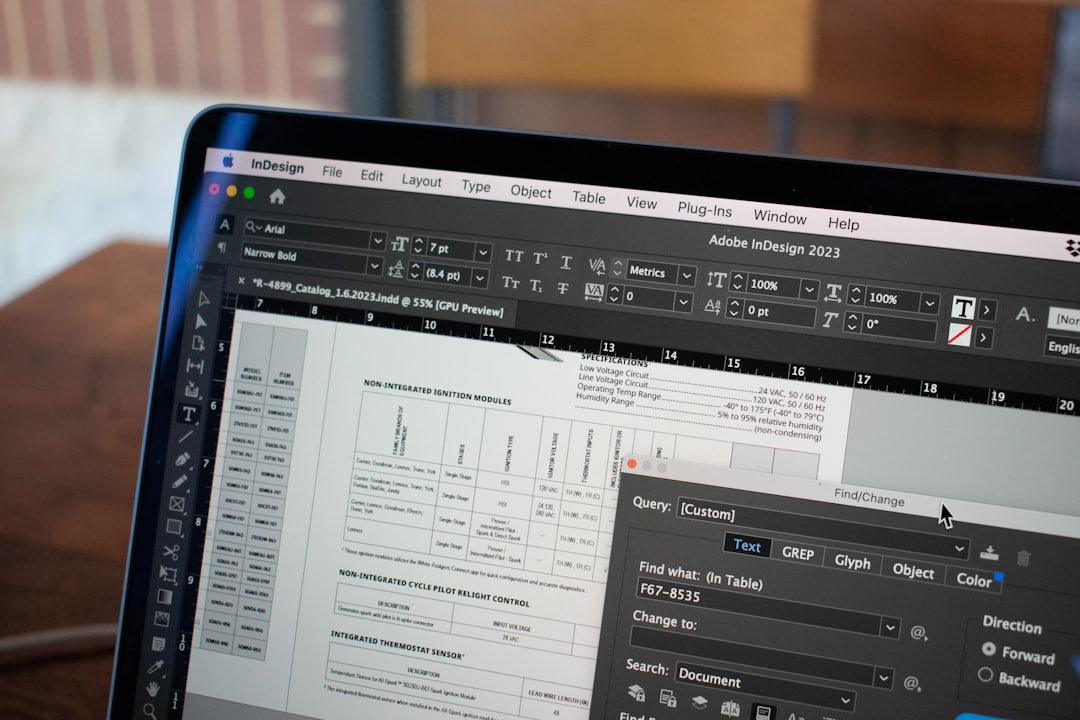
For app screenshots or tutorials, zoom in on key areas. Add callouts. Highlight buttons. Use arrows when needed. Viewers should never wonder where to look.
Step 5: Keep Transitions Simple
Transitions are seasoning. Not the whole meal.
Use cuts for most edits. Use fades for soft changes. Use slides or wipes only when they match the style. If every scene spins, flips, and explodes, the viewer may forget what the video was about.
A clean transition says, “Here is the next idea.” A messy one says, “I found the effects menu.”
Step 6: Add Text That Helps
Text should make the edit clearer. Not heavier.
Good text is short. It is readable. It stays on screen long enough. It does not cover the main action.
Use text for:
- Step numbers
- Feature names
- Important warnings
- Short tips
- Captions
Captions are not just nice. They are practical. Many people watch videos with sound off. For social clips, captions can lift watch time because viewers understand the point sooner.
Step 7: Use Presets And Templates
Presets are your future self doing you a favor.
Create presets for export sizes, caption styles, color looks, audio levels, and intro layouts. This helps when you make repeat content, such as weekly videos, product clips, podcast quotes, or course lessons.
Try presets for:
- Square social post: 1080 by 1080
- Vertical short: 1080 by 1920
- Wide video: 1920 by 1080
- Web preview: smaller file size
It drives me crazy when an app hides export settings three panels deep. So save presets when you can. Your wrists deserve peace.
Step 8: Review Like A Viewer
Do not review only as the editor. Editors see timelines. Viewers see confusion.
Watch the whole edit from start to finish. No stopping. Take notes. Then fix.
Check these items:
- Is the first five seconds clear?
- Can you hear every word?
- Are any captions misspelled?
- Do graphics block key details?
- Is the ending useful?
- Does the export match the platform?
If possible, send it to one other person. Ask, “Where did you get bored?” That question is gold. Painful gold, but still gold.

Step 9: Export With Purpose
Export settings matter. A huge file may look great but upload slowly. A tiny file may upload fast but look crunchy.
Match the export to the destination. A website header video needs different settings than a cinema style upload. A vertical short needs a different frame than a desktop tutorial.
Before export, confirm:
- Format: MP4 is common and friendly.
- Resolution: match the platform.
- Frame rate: keep it consistent.
- Audio: clear and not too loud.
- File name: clean and dated.
Use names like product demo vertical 2026 09.mp4. Simple names make files easier to find later.
Common Application Editing Mistakes
Most editing problems are not dramatic. They are tiny mistakes stacked into a wobbly tower.
- Editing without a plan: This wastes hours.
- Using too many effects: This distracts viewers.
- Ignoring audio: This hurts trust fast.
- Skipping backups: This is how panic begins.
- Exporting once and hoping: This invites weird surprises.
Always keep a backup of the project file. Save versions as you go. Use names like edit v01, edit v02, and edit approved. This is not fancy. It is survival.
A Simple Workflow You Can Copy
- Import all media into named folders.
- Sort useful files from weak files.
- Create a rough cut.
- Trim slow parts and errors.
- Clean audio.
- Add captions, graphics, and highlights.
- Adjust color and framing.
- Review from start to finish.
- Export for the right platform.
- Archive the project and final files.
This workflow works for videos, app demos, ads, lessons, and social clips. It keeps the process calm. It also makes repeat work faster.
Final Thought
A strong application edit is not about using every tool in the menu. It is about making smart choices in the right order. Organize first. Cut clearly. Fix sound. Add creative polish. Then export with care.
Do that, and your work will feel cleaner, faster, and far less annoying to finish.