
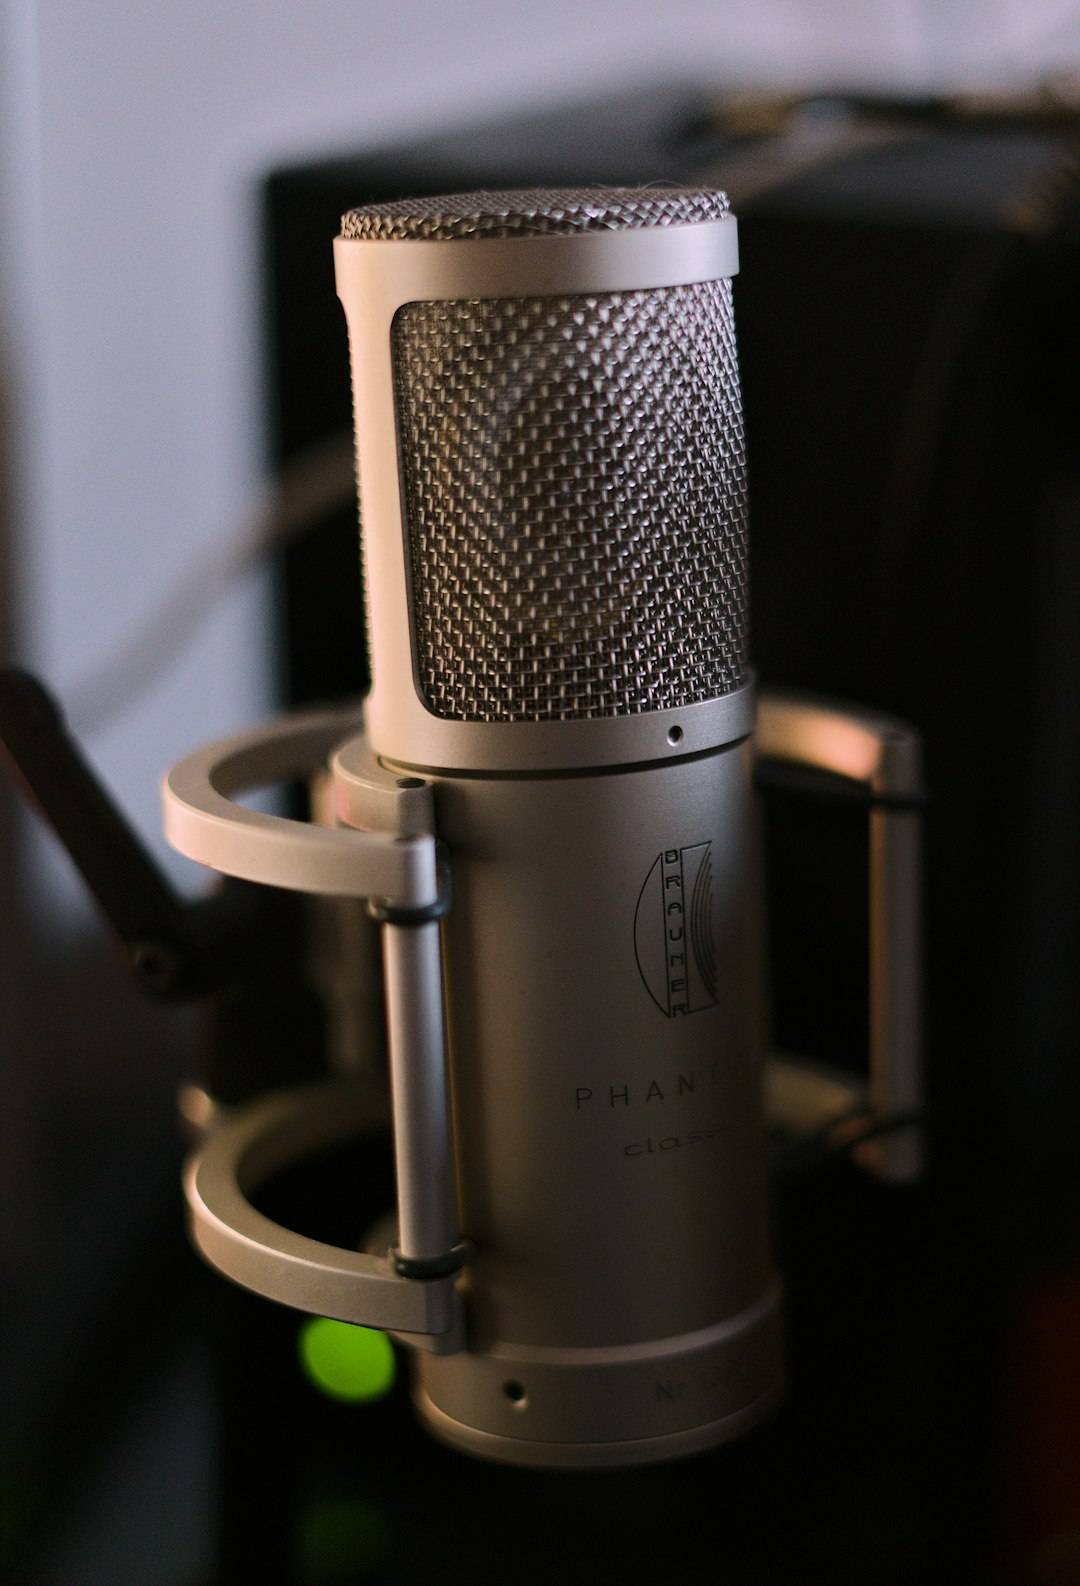
Your condenser microphone can make you sound smooth, clear, and very fancy. Or it can make you sound like you recorded inside a cereal box. The good news is that great audio is not magic. It is mostly small habits, smart placement, and a little patience.
TLDR: Put your condenser microphone in the right spot, control your room, and keep your levels safe. Use a pop filter, reduce background noise, and speak with steady energy. Good sound is not about buying the most expensive gear. It is about using what you have in a smarter way.
1. Put the Microphone in the Right Place
Condenser microphones are sensitive. Very sensitive. They hear your voice, your chair, your dog, and maybe your neighbor opening chips.
So placement matters a lot.
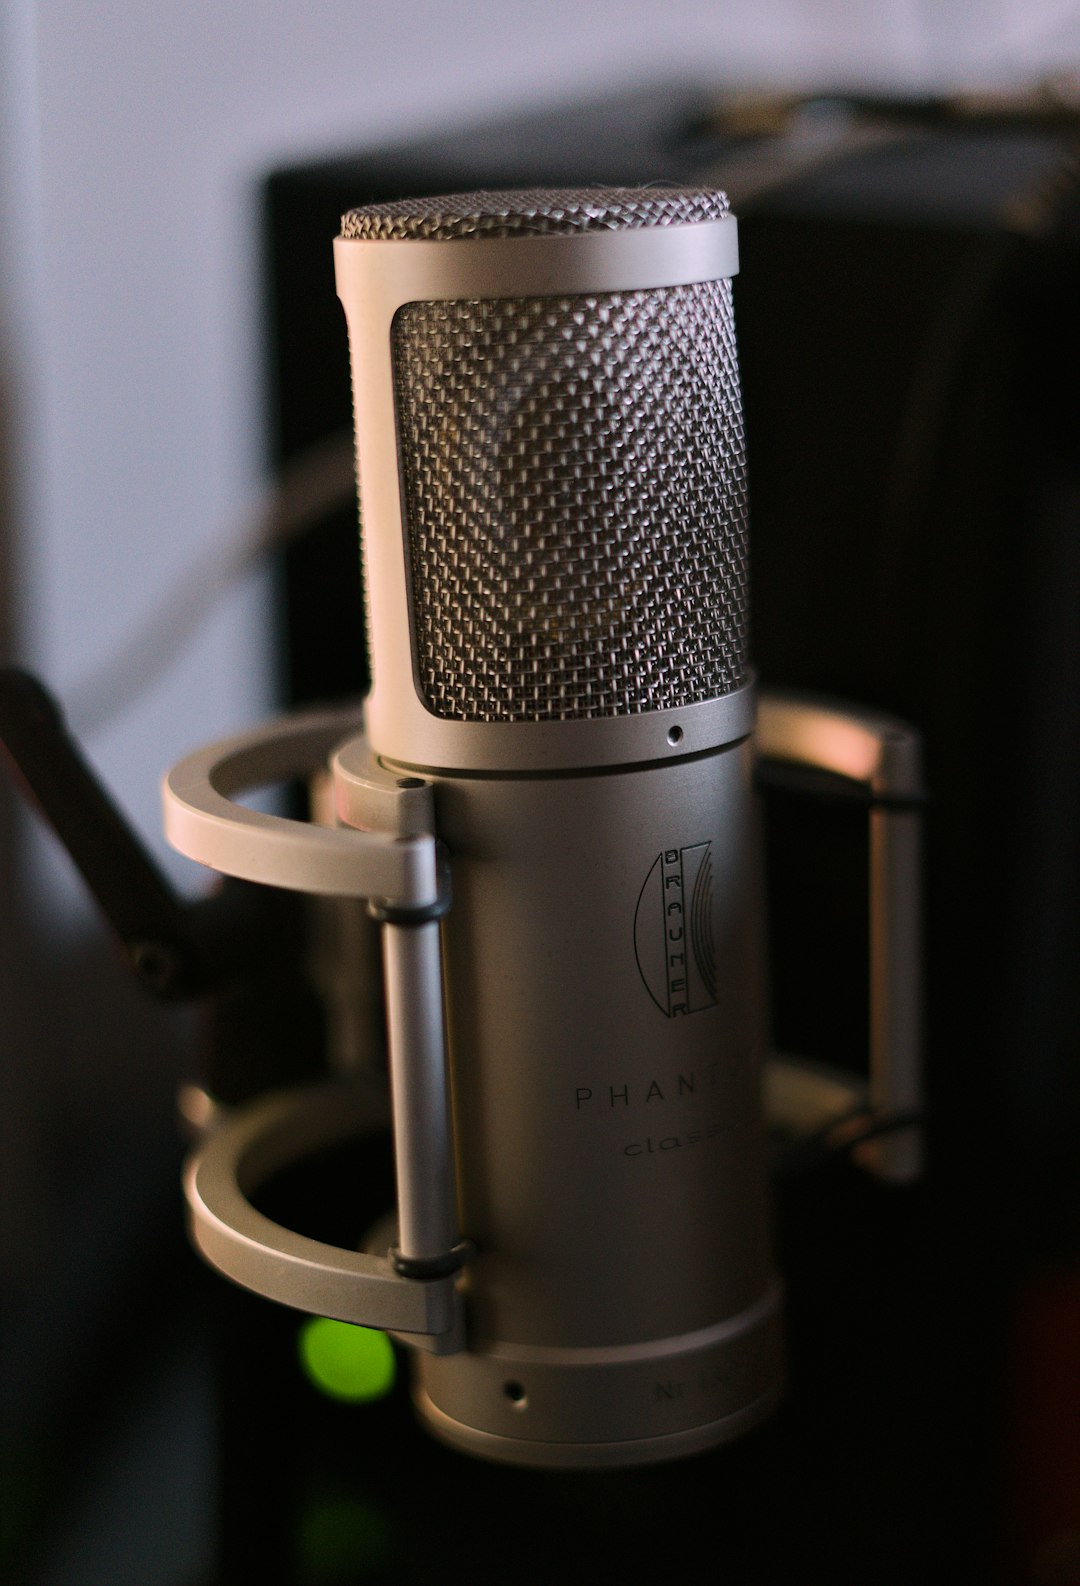
Start with the microphone about 6 to 8 inches from your mouth. That is about the length of a small banana. Point the front of the microphone at your mouth. Not your forehead. Not your chin. Your mouth.
If your voice sounds too boomy, move back a little. If it sounds thin, move closer. Small moves can make a big difference.
Bonus tip: Do not speak into the wrong side of the microphone. Many condenser mics pick up sound from one specific side. Check the logo or manual. Your mic may be judging you silently.
2. Use a Pop Filter
A pop filter is a simple screen that sits between your mouth and the mic. It helps stop harsh bursts of air from words with “p” and “b” sounds.
Try saying “perfect purple pancakes” close to a mic. Without a pop filter, it may sound like tiny explosions.
A pop filter makes your audio smoother. It also keeps spit away from the microphone. That is good. Your mic does not want a shower.
- Place the pop filter between your mouth and the mic.
- Keep it about 2 inches from the mic.
- Keep your mouth a few inches from the filter.
3. Control Your Room Sound
Your room is part of your recording. A condenser microphone does not just record you. It records the space around you.
Empty rooms sound echoey. Hard walls bounce sound. Big windows, bare floors, and blank walls can make your voice sound sharp and distant.
You do not need a professional studio. You need soft things.
- Record near curtains.
- Put a rug on the floor.
- Add blankets, cushions, or foam panels.
- Record in a closet if you must. Clothes are great sound helpers.
Think of soft materials as little sound ninjas. They attack echo before it ruins your recording.
4. Set the Gain Correctly
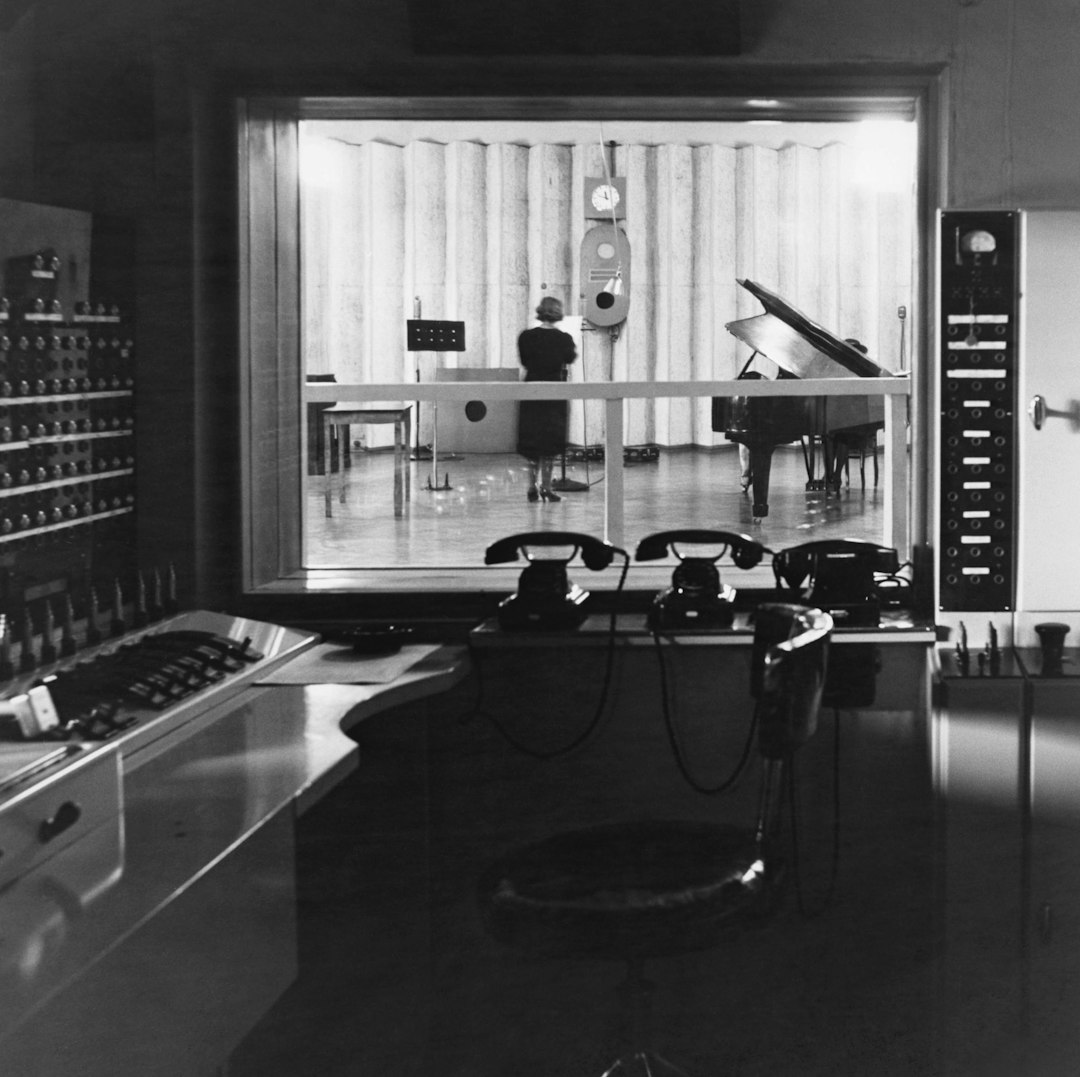
Gain controls how much sound your microphone picks up. Too low, and your voice sounds weak. Too high, and your audio distorts. Distortion sounds crunchy, and not in a good potato chip way.
When you speak at your normal volume, your recording level should stay in a safe zone. In most recording software, aim for peaks around -12 dB to -6 dB.
If the meter hits red, lower the gain. Red is the danger zone. Red means your mic is shouting, “Help!”
Do a quick test before every recording. Say the loudest line you plan to say. Laugh if you will laugh. Yell if you will yell. Then set the gain so it does not clip.
5. Reduce Background Noise
Condenser microphones hear a lot. That is great for detail. It is terrible for noisy rooms.
Before recording, stop the usual noise villains.
- Turn off fans and air conditioners if possible.
- Close windows.
- Silence your phone.
- Move away from computers with loud fans.
- Ask people nearby for a few quiet minutes.
Also listen for sneaky sounds. A humming fridge. A ticking clock. A buzzing light. A chair that squeaks when you breathe.
Record a few seconds of silence. Then listen back with headphones. If you hear noise, your mic hears it too.
6. Use a Shock Mount or Stable Stand
A condenser mic can pick up vibrations from your desk. These vibrations come from typing, tapping, or bumping the table. Even tiny movements can become low rumbles in your audio.
A shock mount helps by holding the microphone in a flexible cradle. It reduces bumps and shakes.
If you do not have one, use a stable stand. Keep the mic off wobbly surfaces. Do not tap the desk while you talk. Do not drum your fingers unless you are recording a tiny concert.
A boom arm can also help. It keeps the microphone in place and gives you more freedom to sit comfortably.
7. Speak at a Steady Volume
Your microphone is important. But your voice is the star.
Try to speak at a steady volume. Do not whisper one sentence and shout the next. Your listener should not need one hand on the volume knob the whole time.
Sit or stand in the same position while recording. If you move closer, your voice gets louder and warmer. If you move away, it gets quieter and thinner.
Use good posture. Take calm breaths. Smile a little when you speak. Yes, people can hear a smile. It makes your voice brighter and more friendly.
Fun trick: Pretend you are talking to one nice person across a small table. Not a stadium. Not a wall. One human.
8. Choose the Right Recording Settings
Your software settings matter too. You do not need to become an audio wizard. Just use solid basics.
- Sample rate: 44.1 kHz or 48 kHz is fine.
- Bit depth: 24 bit is a great choice.
- File type: WAV is best for recording and editing.
Avoid recording directly into low quality formats if you plan to edit. MP3 is useful for sharing, but it throws away some sound detail. Record in WAV first. Export to MP3 later if needed.
Also wear headphones while recording. This helps you catch problems fast. You may hear pops, clicks, hums, or strange mouth noises. Yes, mouth noises are real. No, you are not alone.
9. Edit Gently After Recording
Editing can polish your audio. But do not overdo it. Too much processing can make your voice sound fake, flat, or robotic.
Start with simple steps.
- Cut mistakes. Remove long pauses, coughs, and chair squeaks.
- Use noise reduction lightly. Too much can create weird underwater sounds.
- Add EQ. Reduce muddy low sounds. Add a little clarity if needed.
- Use compression. This evens out loud and soft parts.
- Normalize or limit. Bring the final volume to a clean level.
Always compare the edited version with the original. If the edited one sounds worse, undo and try again. Editing should help your voice shine. It should not put a plastic mask on it.
Quick Bonus Checklist
Before you hit record, run through this tiny checklist:
- Mic is facing the right way.
- Pop filter is in place.
- Room is quiet.
- Gain is not too high.
- You are 6 to 8 inches from the mic.
- Headphones are on.
- You have water nearby.
- You are ready to sound awesome.
Final Thoughts
A condenser microphone is like a friendly magnifying glass for sound. It captures detail, warmth, and personality. It also captures echo, pops, and the mysterious buzz from the corner of the room.
Do not worry. You do not need a giant studio or a golden microphone. Start with these nine tips. Make one small improvement at a time. Listen back. Adjust. Try again.
Great audio is built step by step. And when it works, your voice sounds clear, confident, and easy to enjoy. That is the sweet spot. That is where your condenser mic becomes your best little recording buddy.